For your colleagues and clients to be notified about your absence and when they should expect a reply, it is important to set the Out of Office (OOO) message in Outlook 365. The following are steps on how to set an Out of Office reply in Outlook 365.
Read: How to Create and Share a Microsoft Teams Meeting Link
Step-by-Step Guide for Set Up Out of Office in Outlook 365
Step 1: Open Outlook 365
- Log In: Load your web browser and go to the Outlook 365 site. Sign in using your login details.
- Access Settings: Look at the top right-hand corner of your screen where there is a gear icon called settings click on it.
Step 2: Navigate to Automatic Replies
- Search for Automatic Replies: In the Settings menu, type “Automatic Replies” in the search bar and select it from the dropdown list.
- Open Automatic Replies: Click on this link “Automatic replies” to open the setup page.
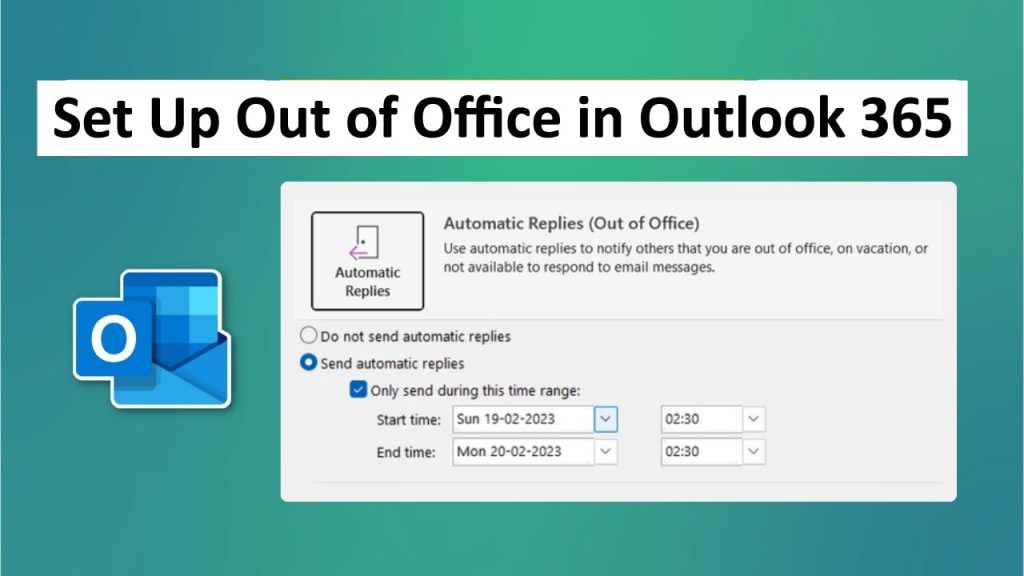
Step 3: Turn On Automatic Replies
- Enable Automatic Replies: Tick on “Send automatic replies”.
- Set Period (Optional): If you know the duration for which you will be away; just check send replies only during this period box. Then enter the start time and end time as per those dates.
- Compose Your Message:
- Inside My Organization: Write down what you want people within your organization to receive. This message should include any other method that can be used by employees regarding taking care of business while away such as dates, reasons if need be, and alternative contact information.
- Outside My Organization: Check this box if you want automatic replies sent to external people. You may choose to respond only to those who are stored in your contact list alone or to everybody else who sends an email.
Step 4: Configure Additional Settings
- Block Calendar: To prevent new meetings from being scheduled during your absence, you can block off a calendar slot for that entire period.
- Decline Invitations: Let any new invitations falling within my leave days be turned down automatically by this program.
- Cancel Meetings: Cancel any meetings scheduled during this time that you were not available.
Step 5: Save Your Settings
- Review and Save: Press the “OK” or “Save” button to make your Out of Office replies active once you have composed your messages and configured the settings.
Conclusion
Setting an Out of Office message in Outlook 365 is an easy process, which results in efficient communication even when away from the office. By following these steps, it is guaranteed that your colleagues and clients will be informed about your absence and know when to expect a response from you. Through this manner, your work environment remains a professional one that can be carried out without interruption. However, remember to disable this setting after you resume duties so as not to confuse anybody.